
How to — Create Lottie Animations
What is a Lottie animation?
If you are a motion designer you probably would have come across the term: Lottie animations.
So what is a Lottie animation? Think animations that never pixelate no matter how much you scale them, all while maintaining a tiny file size. Say goodbye to long loading times and pixelated GIFs!
Below are some Lottie animations I did for a game teaching kids how to identify the people who work in the museum for Singapore’s Ministry of Education.


What can I learn from this tutorial?
By the end of the this tutorial, you would learn the basics of:
Designing and dividing your character into animation-ready layers using Adobe Illustrator
Rigging your character in Adobe After Effects
Animating the file in Adobe After Effects
Exporting your animation using the Bodymovin’ Plugin (install it here)
Uploading your animation onto LottieFiles (link here)
Importing your animation into your websites
Ready? Let’s get started! 🚀
Step 1 — Set up your Character in Adobe Illustrator
This is the first and most important step. Having this done correctly would save you a lot of headache when you begin the animation phase.
Before dividing, ask yourself: How do you envision your animation to look like?
To illustrate what I mean, meet Bob the blue blob, a character I created solely for this tutorial!
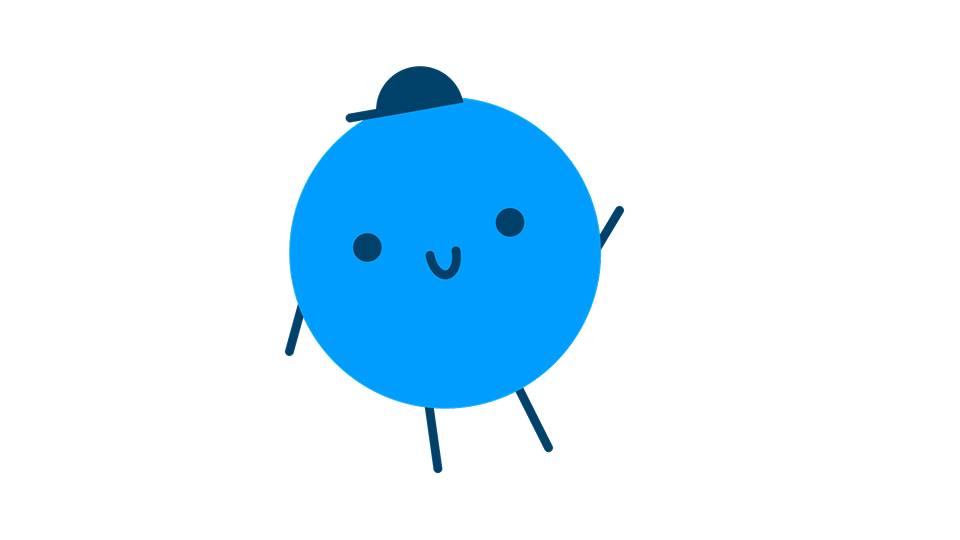
When animated, I want Bob to wave at you guys!
This is how I envision him waving. It would serve as a reference of how I should plan my layering structure to achieve this pose.
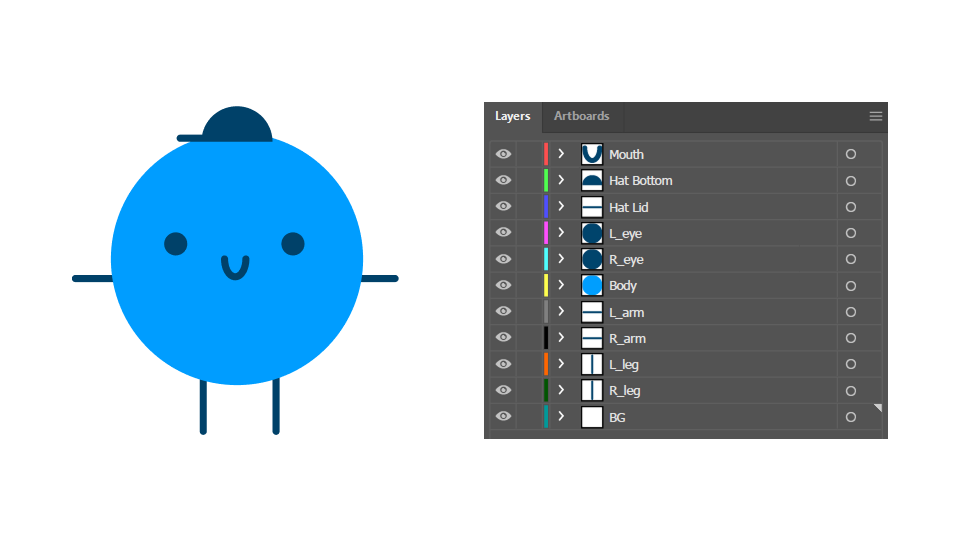
This is how my layering structure looks like.
Notice how every part of Bob has its own individual layer. I highly recommend doing this to all your characters. It provides you more room to animate.
More layers, more flexibility.
IMPORTANT
If parts of your character are slightly transparent, I highly recommend you make all those parts completely opaque (aka 100% opacity) before proceeding to the next step. You can always adjust the opacity accordingly in After Effects later.
Step 2 — Rig your Character in Adobe After Effects
Alright, it is time for the next step, rigging your character! What does rigging mean? It’s essentially giving your character bones and joints so that they can move the way you want them to move.
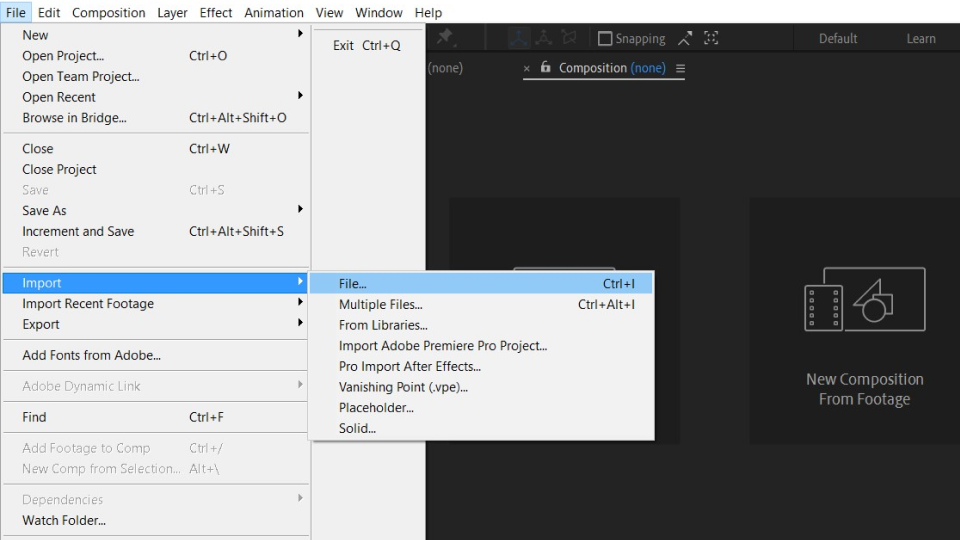
Start by importing your .ai file into After Effects.
Note: If your characters are created in Figma, don’t panic! Just export as .svg, and use Adobe Illustrator to re-export it as an .ai file.
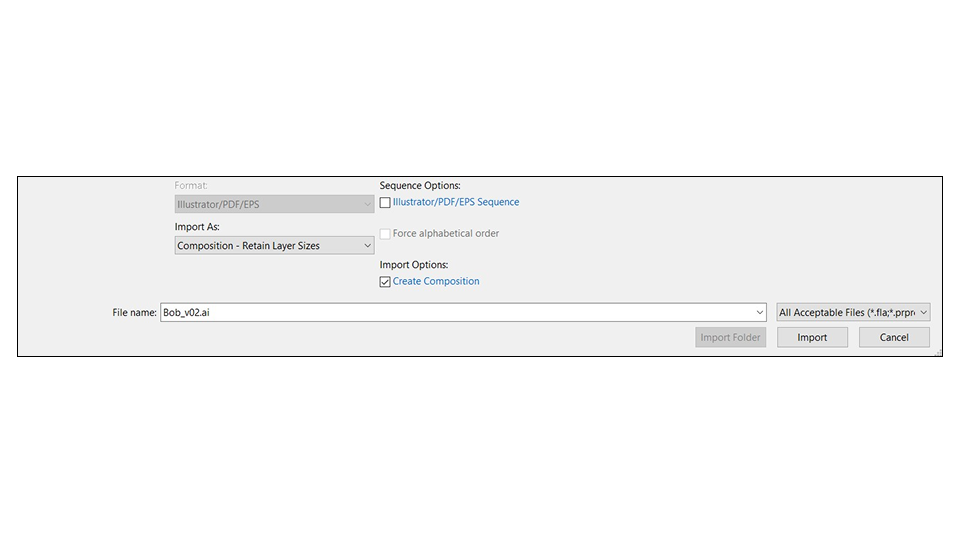
For the import settings, make sure these are enabled:
Composition - Retain layer sizes
Create Composition is checked ✅️
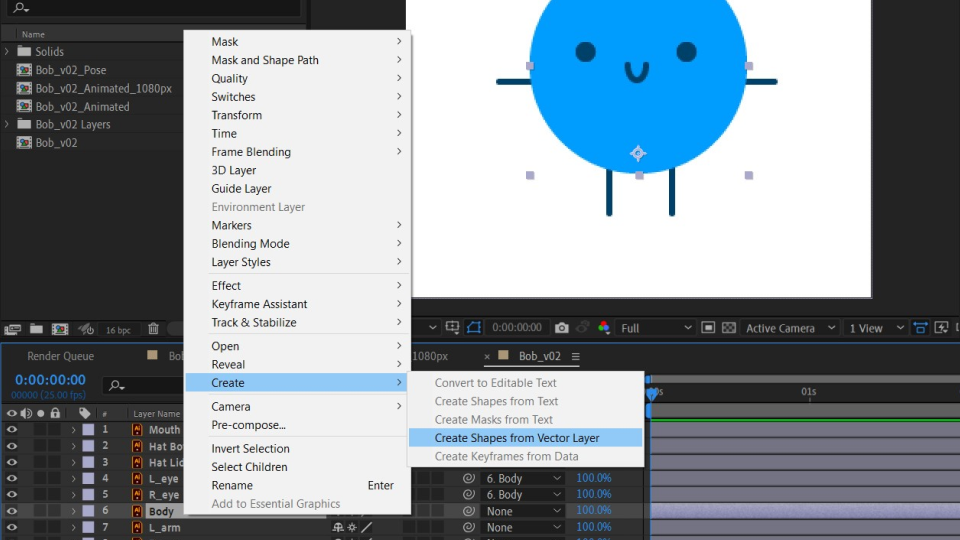
Convert all your layers into shape layers.
You can do this by right clicking on your layers > Create > Create Shapes from Vector Layer.
Its rigging time!
Just like how a human is structured, Bob needs to have joints in order for him to move naturally.
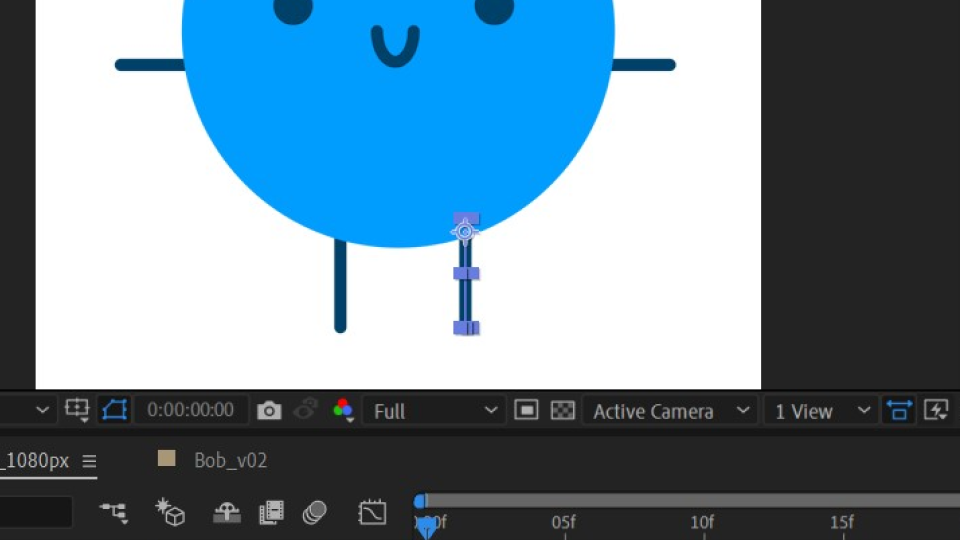
These ‘joints’ are basically your layers’ anchor points, which you would need to move to their desired positions.
For example, your legs moves where your hips are. So I positioned the anchor points of Bob’s legs to the end closer to his hips.
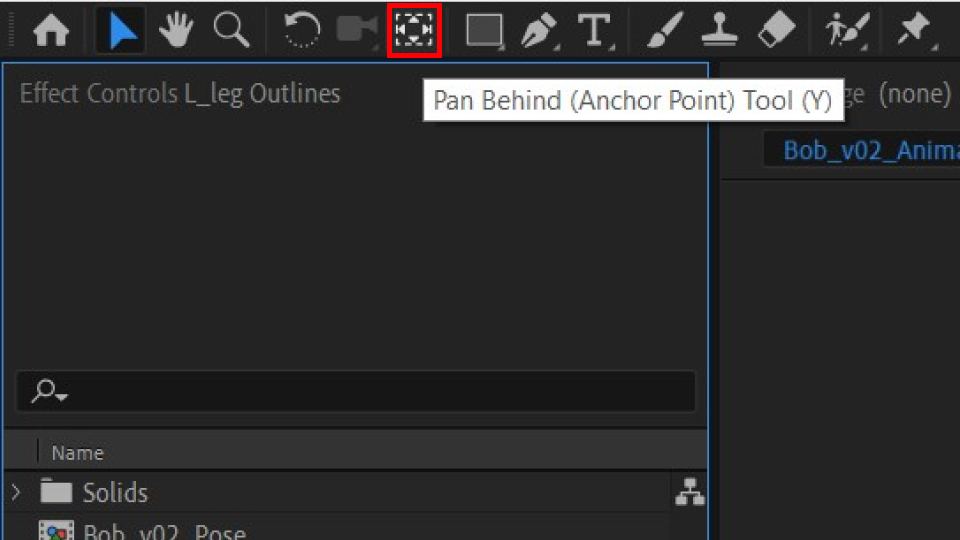
You can move your anchor points by using the pan-behind tool.
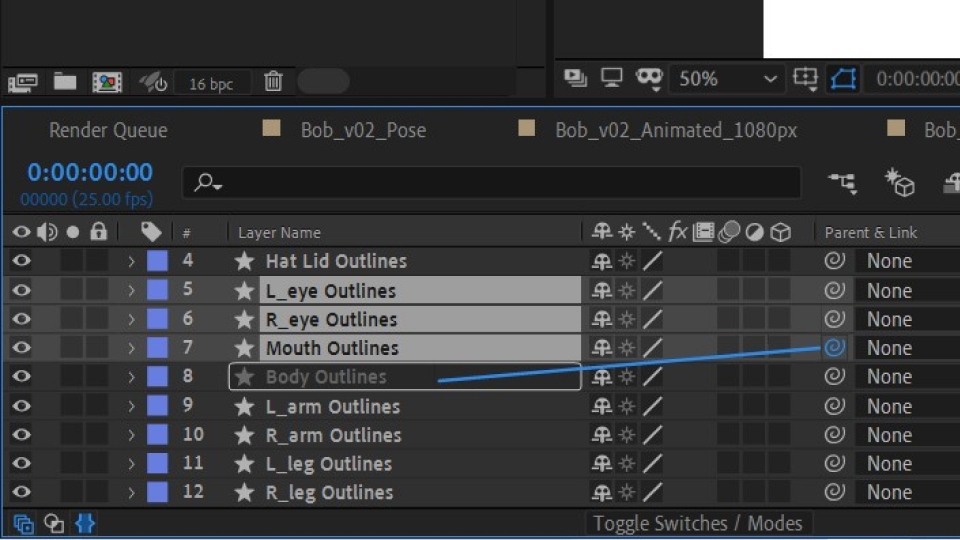
You might want some layers to move together with the another layer. We call the former layer the child and the latter layer the parent.
For example, I want Bob’s eyes and mouth to move together with the body. So I select all those layers, click on the pick-whip icon and drag my mouse towards the parent later, which is the body.
Step 3 — Animation Time!
Now for the fun part: Animation! Here is a quick guide on how you get your characters to move from one pose to another.
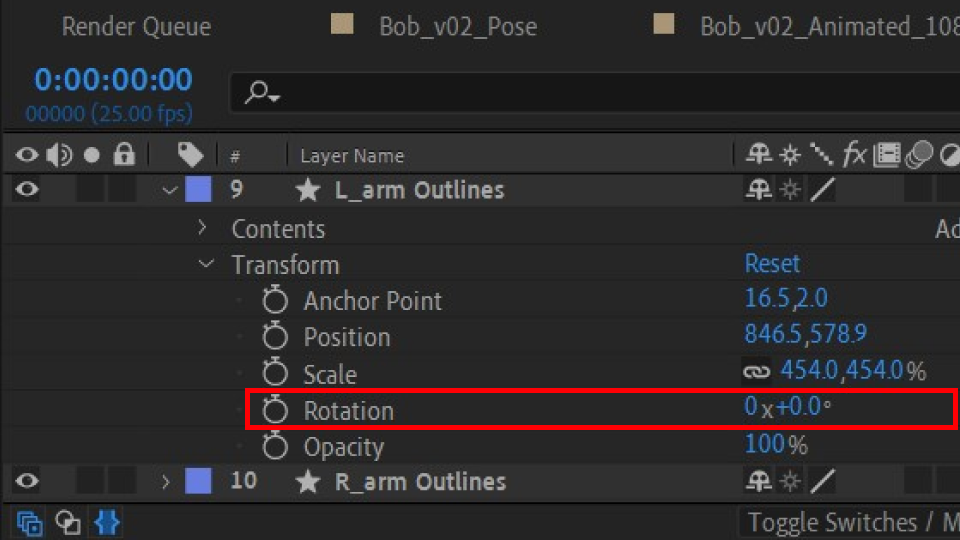
First, pick a parameter you want to manipulate.
In this case, I pick Rotate, since I would be rotating Bob’s arm upwards to wave.
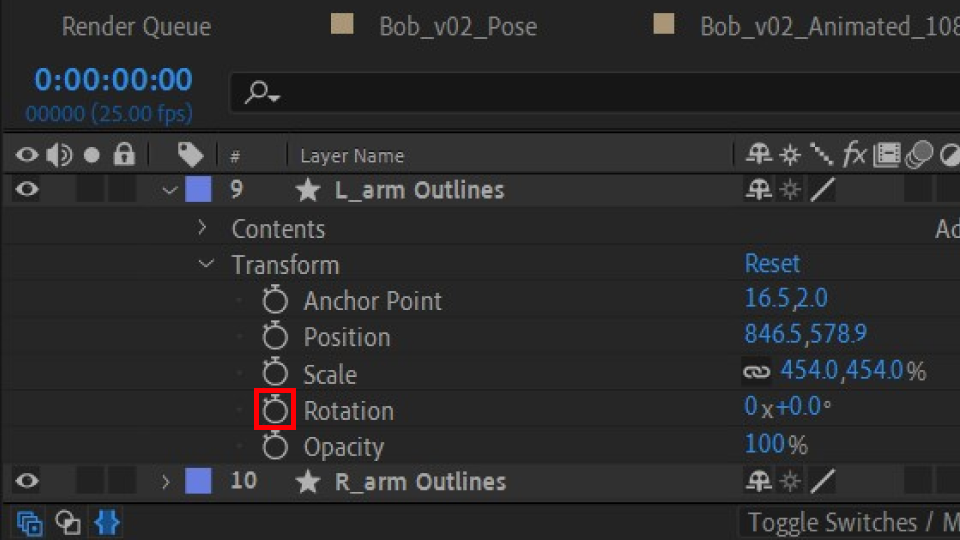
Click on the stopwatch next to it.
Doing so will produce your first keyframe. It looks like a little diamond!

Move your playhead further down the timeline and rotate Bob’s arm.
You will see that a new keyframe has been produced containing the updated value of the rotation.
Now move your playhead back to the first keyframe and press spacebar to play.
You should now see Bob’s arm rotate!
You can now move on to animating Bob’s other layers!
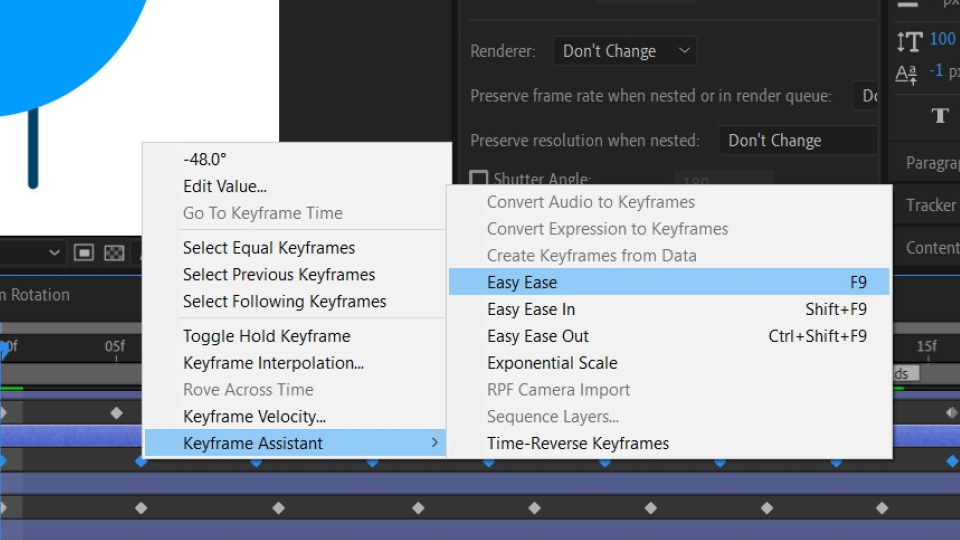
Tip: If you want to add a simple easing, click and drag your mouse over the keyframes, right click on them, hover over ‘Keyframe Assistant’ and click ‘Easy Ease’.
Step 4 — Export your Animation using Bodymovin’
Happy with your animation? Time to export!
Before moving forward, you would need to install Bodymovin’ for Adobe After Effects here.
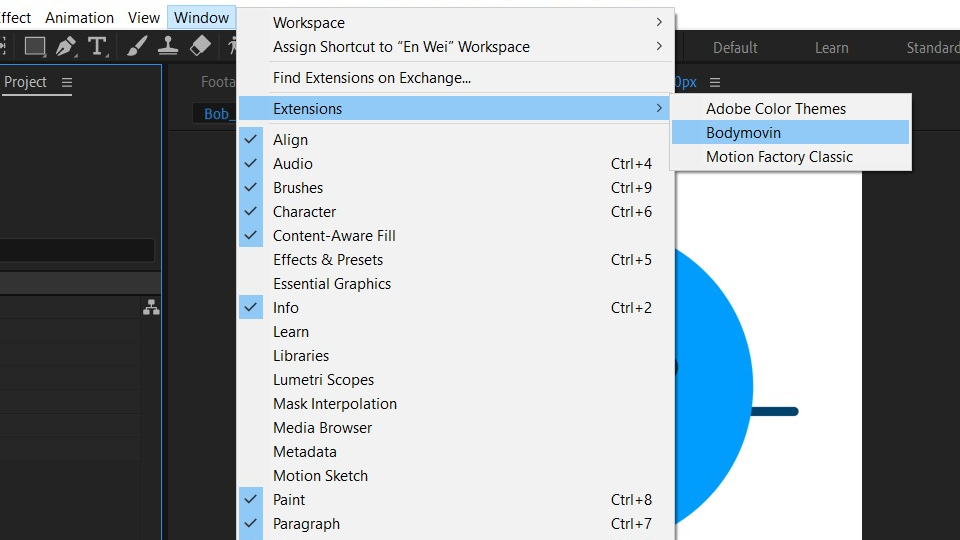
Start by opening up the Bodymovin’ plugin within After Effects
You should find it by clicking Window > Extensions > Bodymovin
Once you have opened it, the name of your opened compositions should appear within the plugin as shown below. Familiarize yourself with the UI using the diagram before moving forward.
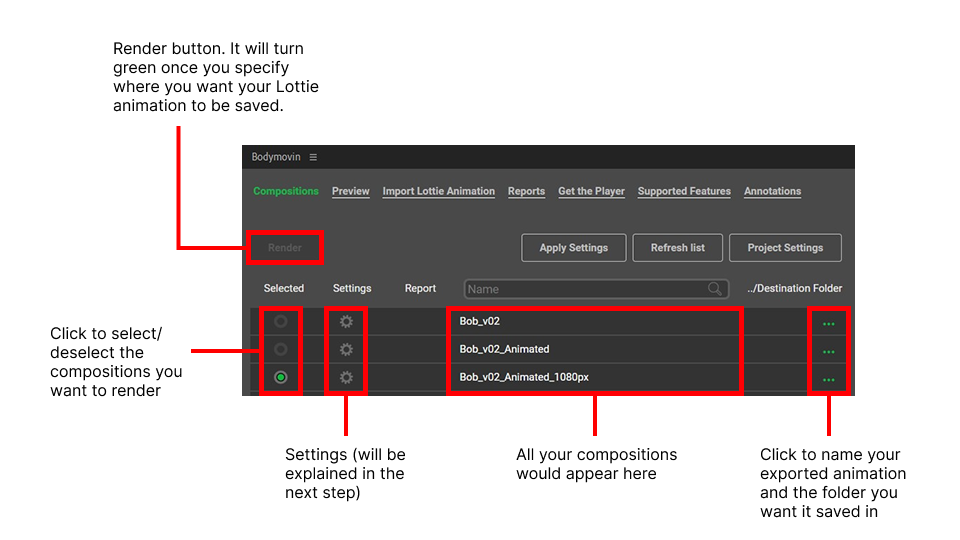
All set? Great, let’s keep going.
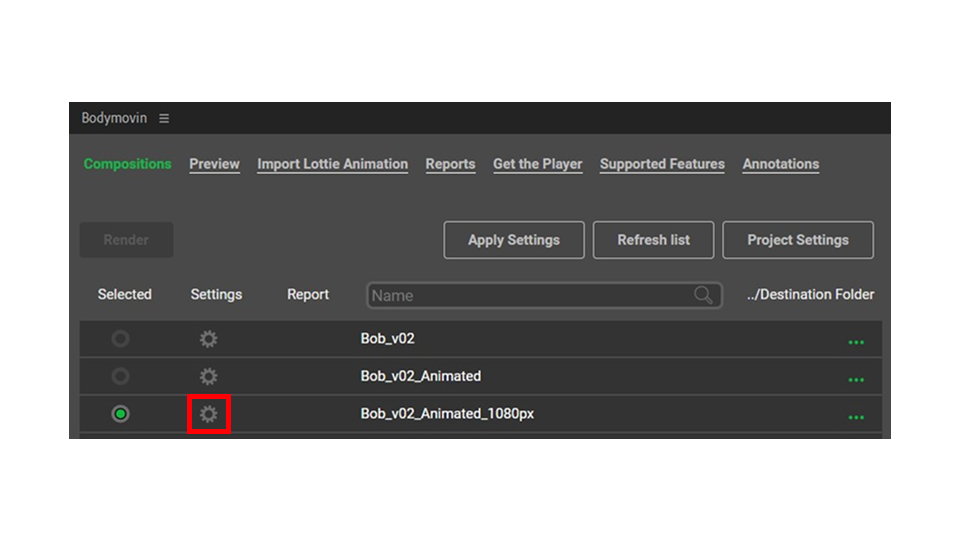
Click on Settings (the gear symbol) of the composition you want rendered.
Make sure the following settings are checked (the green dots) as shown in the image below.
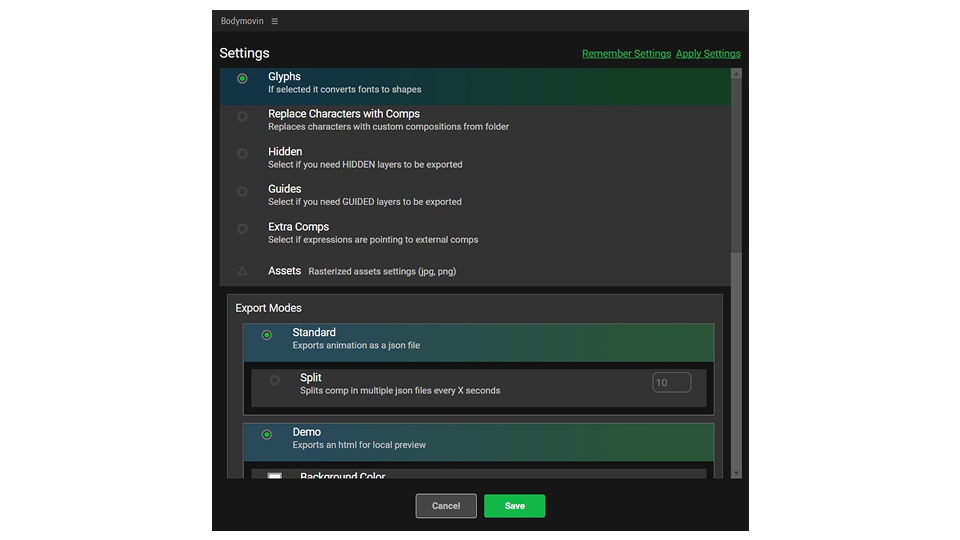
When done, click ‘Save’ and hit that ‘Render’ button!
Render’s done! Now what?
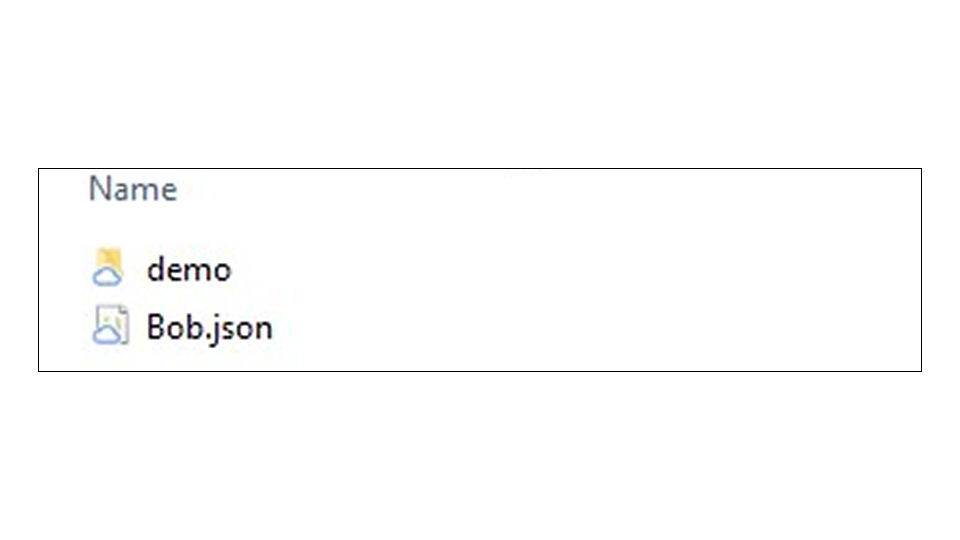
Check your destination folder. Its contents should have the following items:
A demo folder - This contains a .html file. Click on it and preview your Lottie animation
A .json file - This is the Lottie animation
IMPORTANT
You should NOT be seeing a folder named Images.
That means there are layers in your composition that were not converted to shape layers.
Step 5 — Upload your Animation to LottieFiles
Now, the moment you have been waiting for: Making your animation live on your website!
We will be utilizing lottiefiles.com to host our animations.
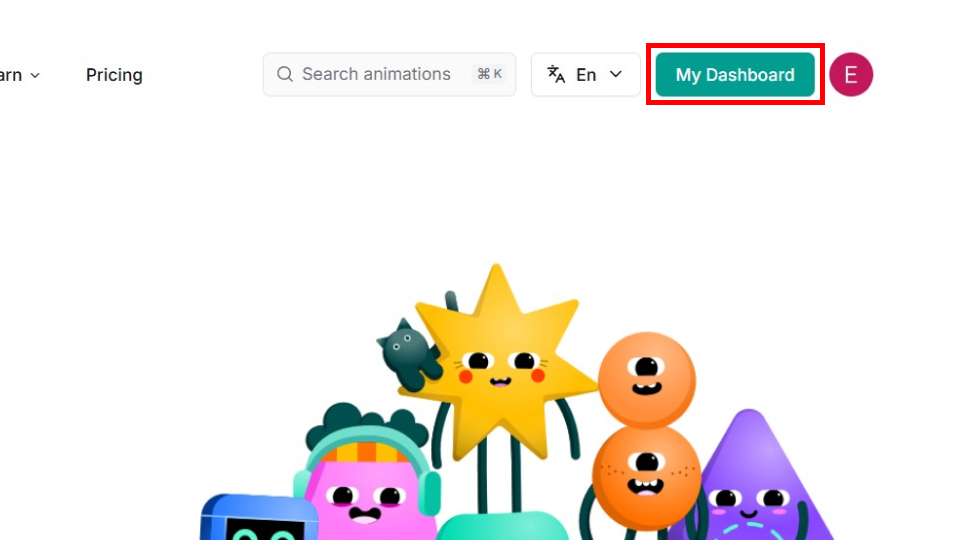
Log in / create an account on LottieFiles.
Once done, click on ‘My Dashboard’.
Click on the ‘Upload animations’ button. A new modal window should open.
Drag and drop your .json file into the dotted box.
Step 6 — Import the Animation into your Website
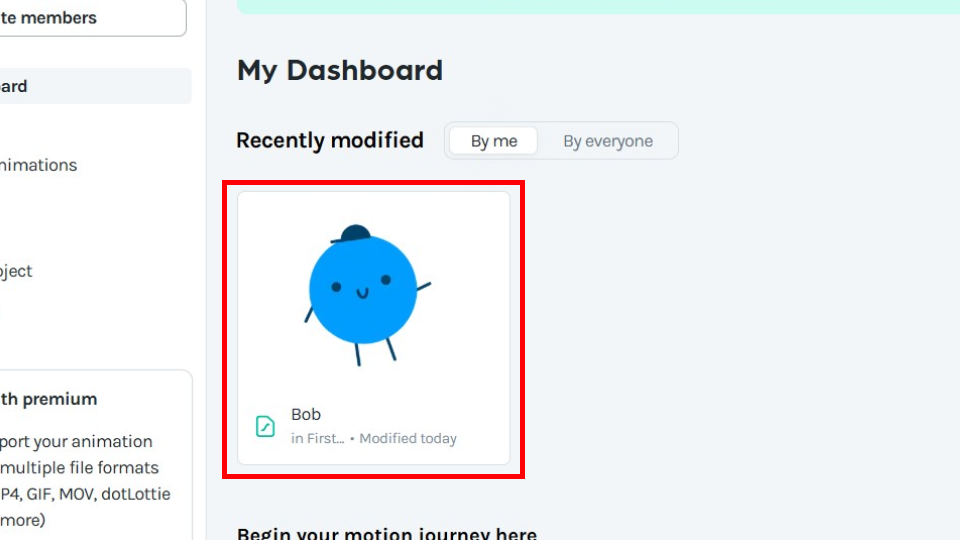
While on the Dashboard, click on your animation.
You will be taken to a new page where you would see a preview of your animation being played and a couple of options on the right.

Click ‘Handoff </>’.
Under ‘Integration guide’, copy the code under Embed HTML and paste it into the code of your website’s .html file.
And that’s it, you’re all set!
Congrats on your Lottie animation!

Thank you for viewing this tutorial, it means a lot to me!
I hope that it was easy to follow and that you did not run into any issues in the process of creating your Lottie animation.
That being said, if you have any questions or feedback on how I can improve the way I structured this tutorial, please feel free to email me at enwei.tsao@gmail.com.