
NYU AR User Manual

At a Glance
Role
AR Developer, UX Research, UI/UX Designer
Project type
Conceptual case study
The Problem
NYU students struggle to remember how to operate Makerspace machinery, increasing the risk of injury and equipment damage.
The Solution
Created an AR-powered manual that displays GIFs to guide NYU students step by step in safely operating Makerspace machinery.

Ever forgotten something you learned?
At the NYU Tandon School of Engineering, students are constantly learning new things!
But we are only human, and we can only recollect so much after some time has passed. This holds especially true in remembering how to operate the machines in the NYU Makerspace.
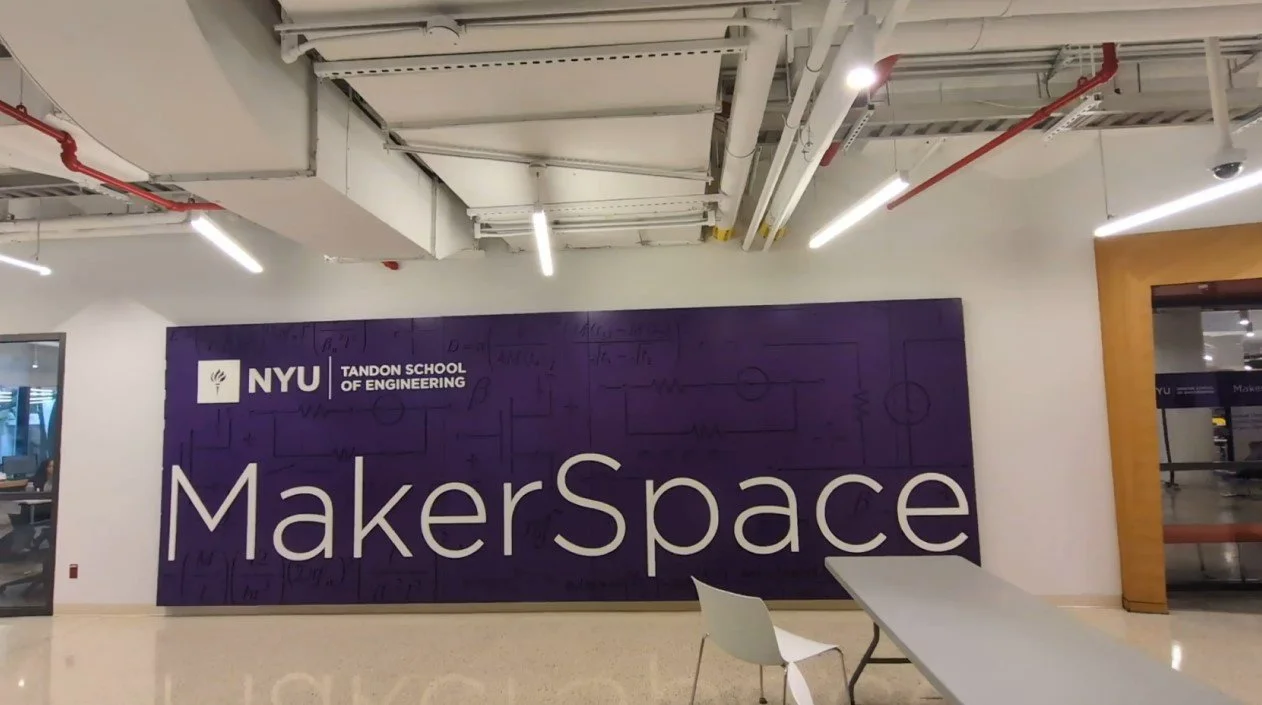
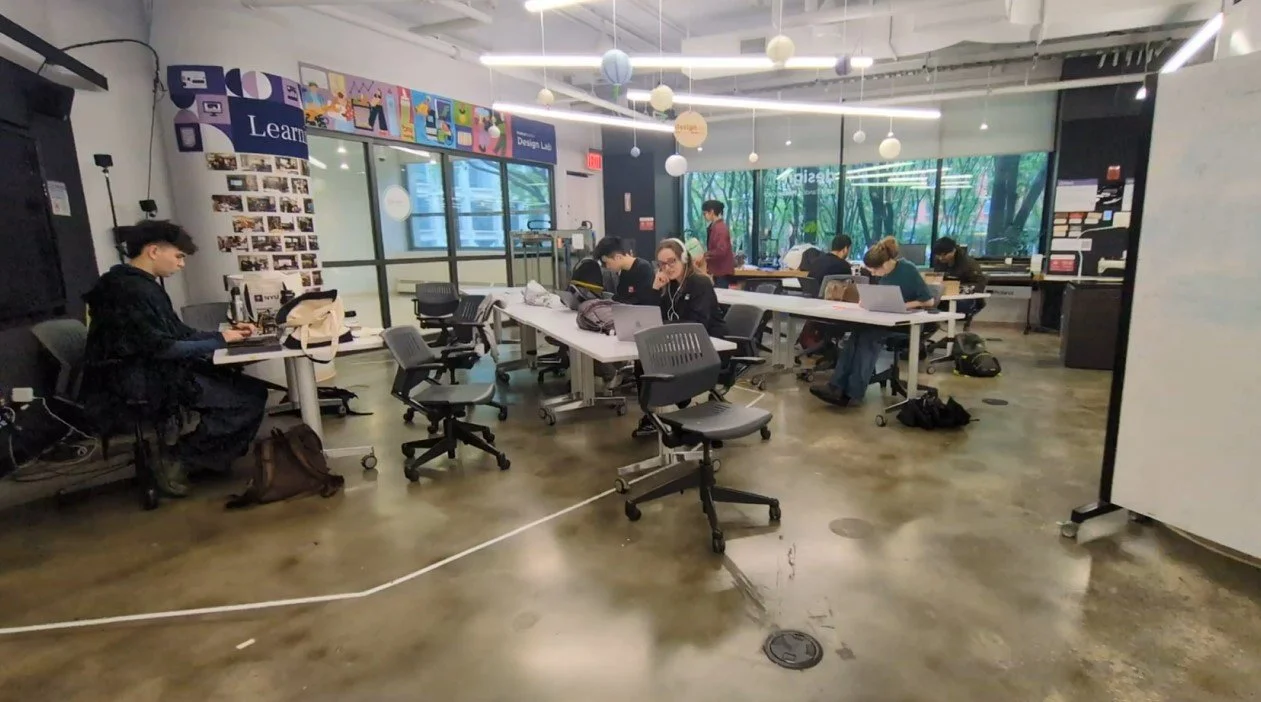
What is the NYU Makerspace?
The MakerSpace is located in 6 Metrotech Center. It is a place that is stocked full of machines and tools that help students realize their projects.
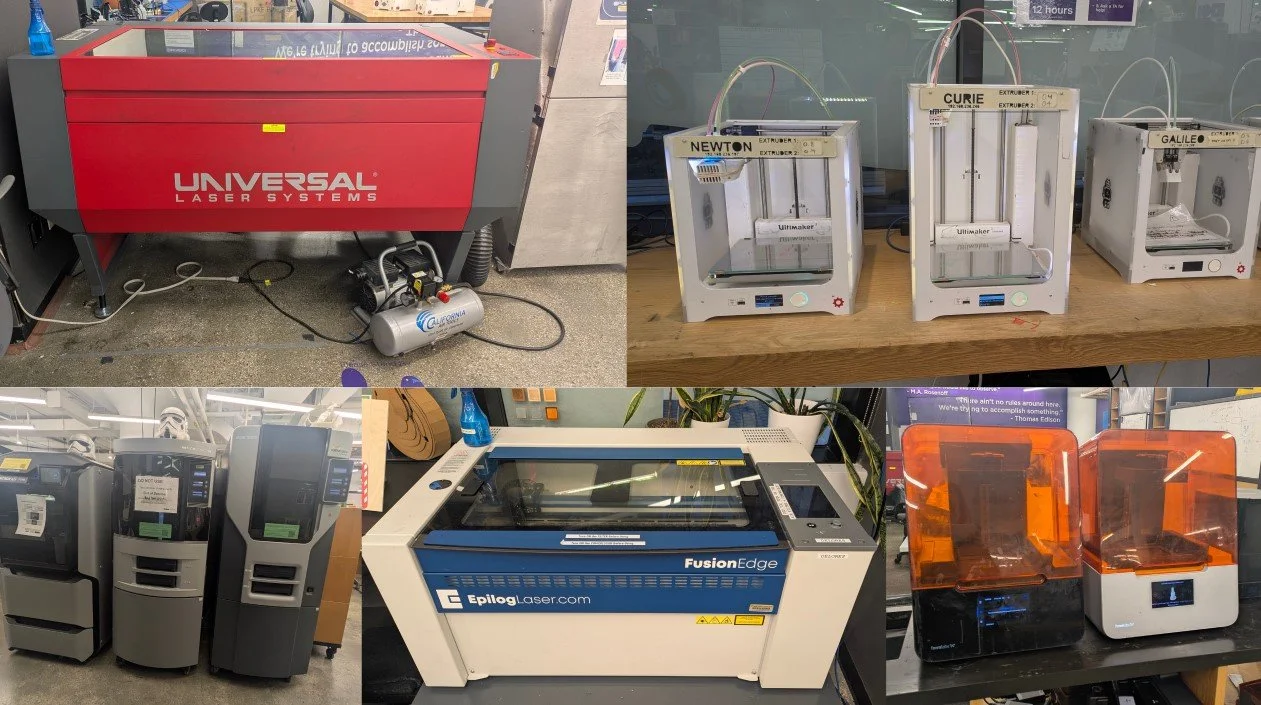
The machines range from state of the art 3D printers to laser cutters, all of which are readily available for students to use, free of charge.
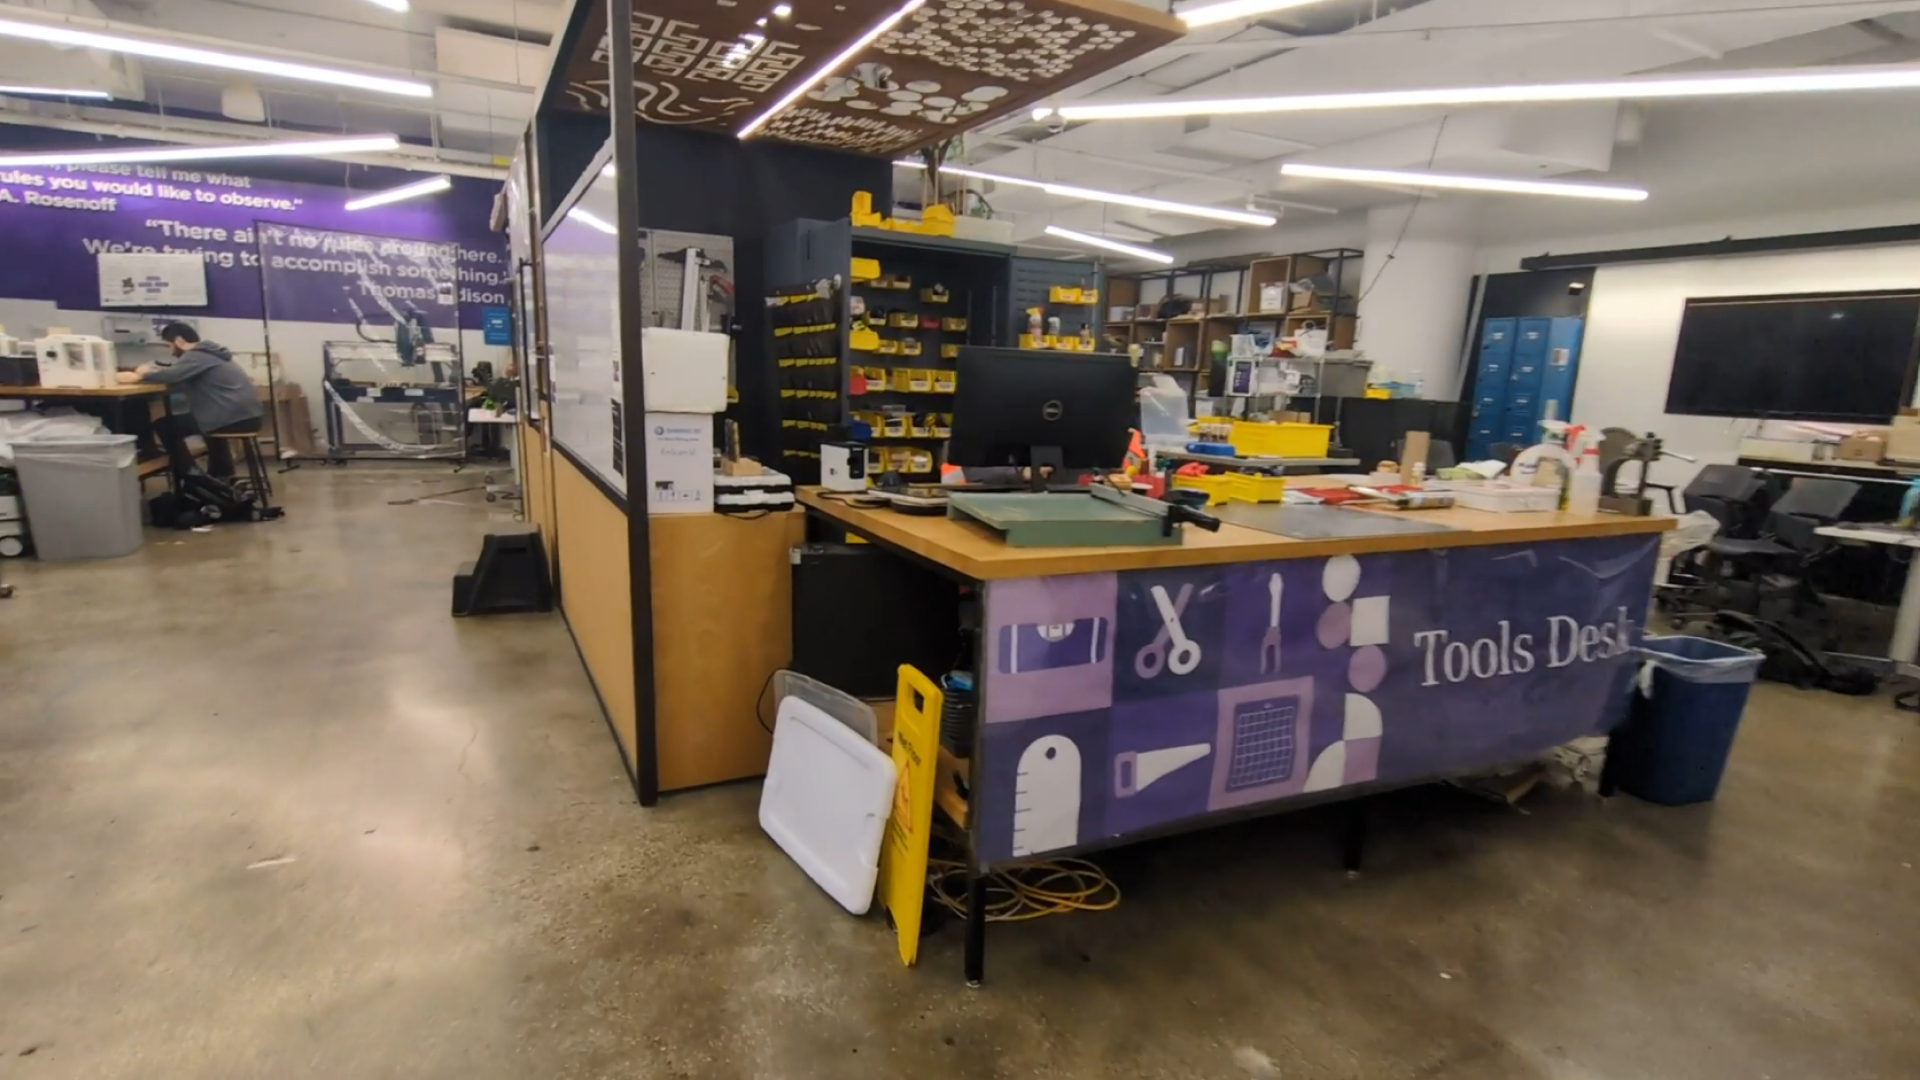
To use a machine, a student must first be certified to do so.
This can be achieved through the following steps:
Visit the Makerspace Website
Book a training session
Undergo one session of training
Eligible to use machine
But what happens if..
.. A student has not used a machine for a long time since their training?
I revisited the machines in the Makerspace to see if there is any materials that might help a student jog their memory on how to use them.
There were no refresher materials.
Identifying gaps in the NYU Makerspace’s System
Aside from my assumptions, I did a competitive analysis was the best way in helping me discover more gaps within the NYU Makerspace system.
Doing this analysis also helped me in discovering its strengths, and how I can leverage on these strengths and values to create a more intuitive experience of utilizing the space.
The Makerspace’s Strength has state-of-art machinery.
However, its Weakness is that students are finding it difficult to recall their training.
This presents a Opportunity to introduce emerging technology to help students refresh their memory.
Doing so will eliminate the certain Threat of being liable for any mishaps that happen from misremembering steps.
Shown in the video above, I decided to break down the analysis, focusing on one point of each of category to craft out the following flow to focus on:
Now that an internal assessment is done, it was time to look beyond NYU.
How do the Makerspaces of other schools help their students recall how to use their machines?
By doing a competitive analysis, it allows me to see what forms of refresher materials that MakerSpaces of other schools have been providing to its students.
After analyzing my findings from both the SWOT and Competitive Analysis, I noticed a relation between the opportunities both analysis presented:
Introduction of emerging technology
=
Utilizing Augmented Reality
Utilizing emerging technology in the form of Augmented Reality (AR) will not only help students retain their memory on how to use the machines in the NYU MakerSpace, but it will also help NYU stand out against other schools.
Problem Statement
With my Secondary Research now complete, I proceeded to draft out my problem statement. This helps me focus on what I want to solve through my product.
Students who infrequently use NYU Makerspace’s machines struggle to recall operating steps due to lack of refresher materials, increasing the risk of damage and injury.
Why is this a problem?
If students were to..
Injure themselves and/or others from incorrect operating of machine
Damage the machine, affecting everyone’ progress
NYU MakerSpace will be..
Held liable for any injury caused
Breaking the bank to fix the broken machine
Surveying the situation
I need as much data as possible for better accuracy, so I sent out screening survey to the students that worked in the Makerspace.
Out of the 22 responses received:
Are unsure how to use the Laser Cutters after training.
40.9%
This tells me that Laser Cutters are the trickiest to operate. 44.4% of the respondents mentioned the Epilog Fusion Edge (EFE) brand. From this pool of users, I found that:
80%
Prefer a digital manual to refer back to after training.
With a clear demand for digital manual, I proceed to filter out how many of these users are familiar with AR technology.
Are familiar with AR technology
75%
Having this result reaffirms that having an AR-driven manual would be beneficial to the students working in the NYU Makerspace!
These students were then approached for an interview!
These snippets are said by students who participated in the interviews.
‘AR would be effective if it can provide the info in GIF or short texts, not long videos.’
‘I keep forgetting the steps to operate because I prefer to learn by doing’
‘Because there’s no manual, it made me nervous of operating the machine again’
They highlight pain points of not having a manual, and the expectations if one is to be made.
Based on these results, how might I..
Make re-learning the steps of operating the EFE fun for returning students to improve retention?
Simplify the process of using the EFE without sacrificing important steps to boost understanding and efficiency?
Make the manual available exclusively to students who completed training to ensure safety?
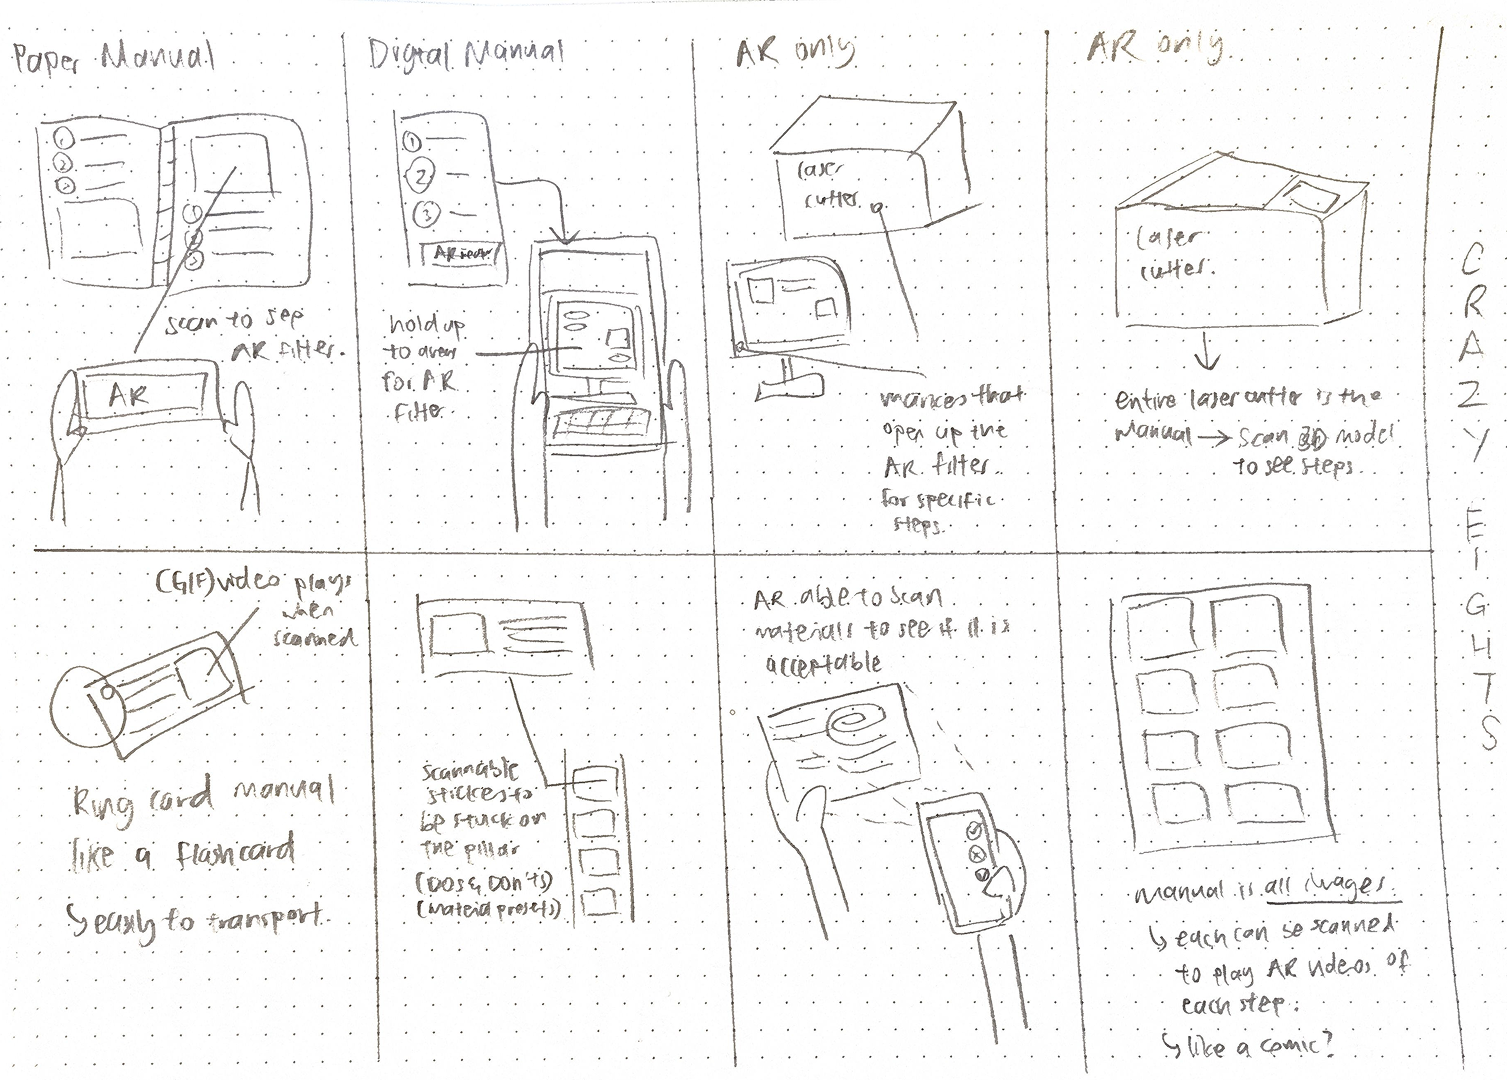
Sketching out a solution
With these questions in mind, I proceeded to ideate using the Crazy 8’s method
I especially liked the 1st and 5th ideas (circled)
Mainly because it fits the mental model of how users would perceive a manual. Thus, it will be a familiar experience but enhanced with AR.
How would it Flow?
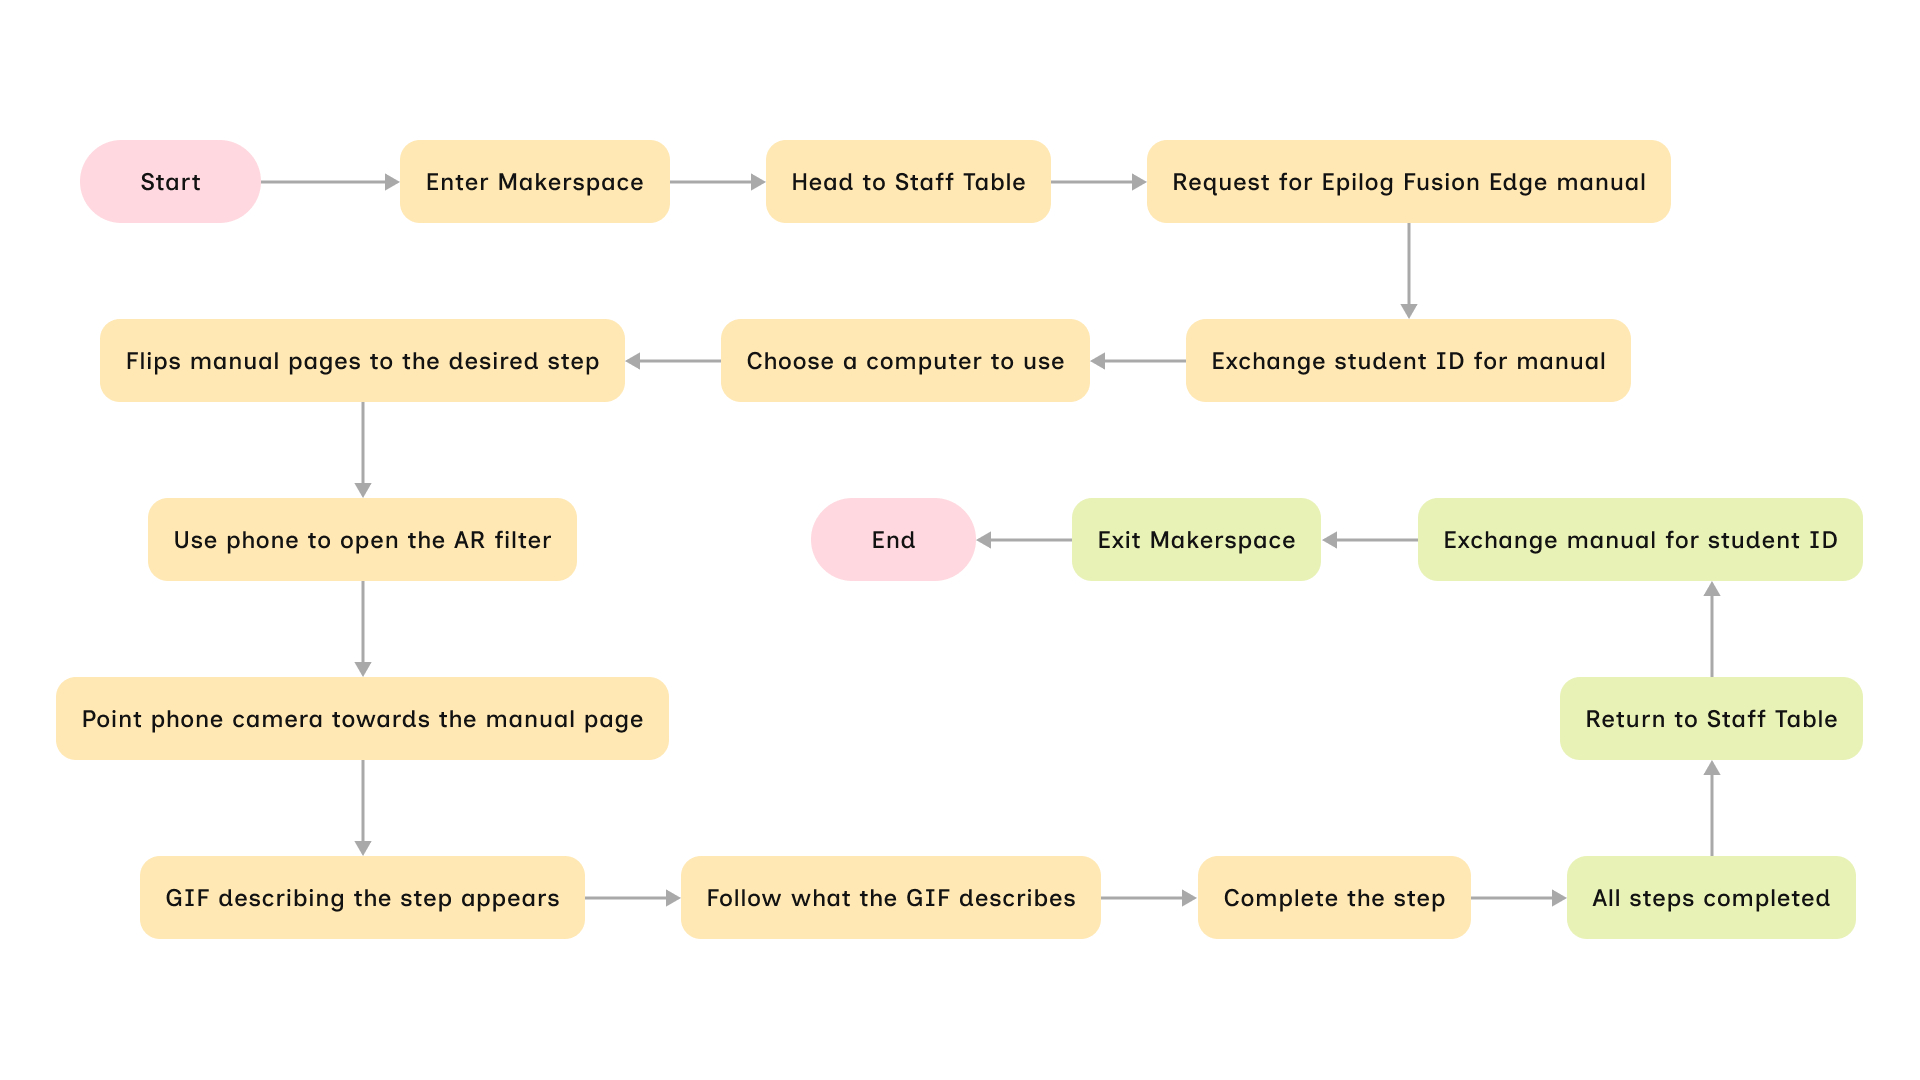
Crafting a user flow helps me ensure the user does not encounter any hiccups throughout the entire process of using my product. From acquiring the manual to leaving the Makerspace.
It’s Designin’ Time!
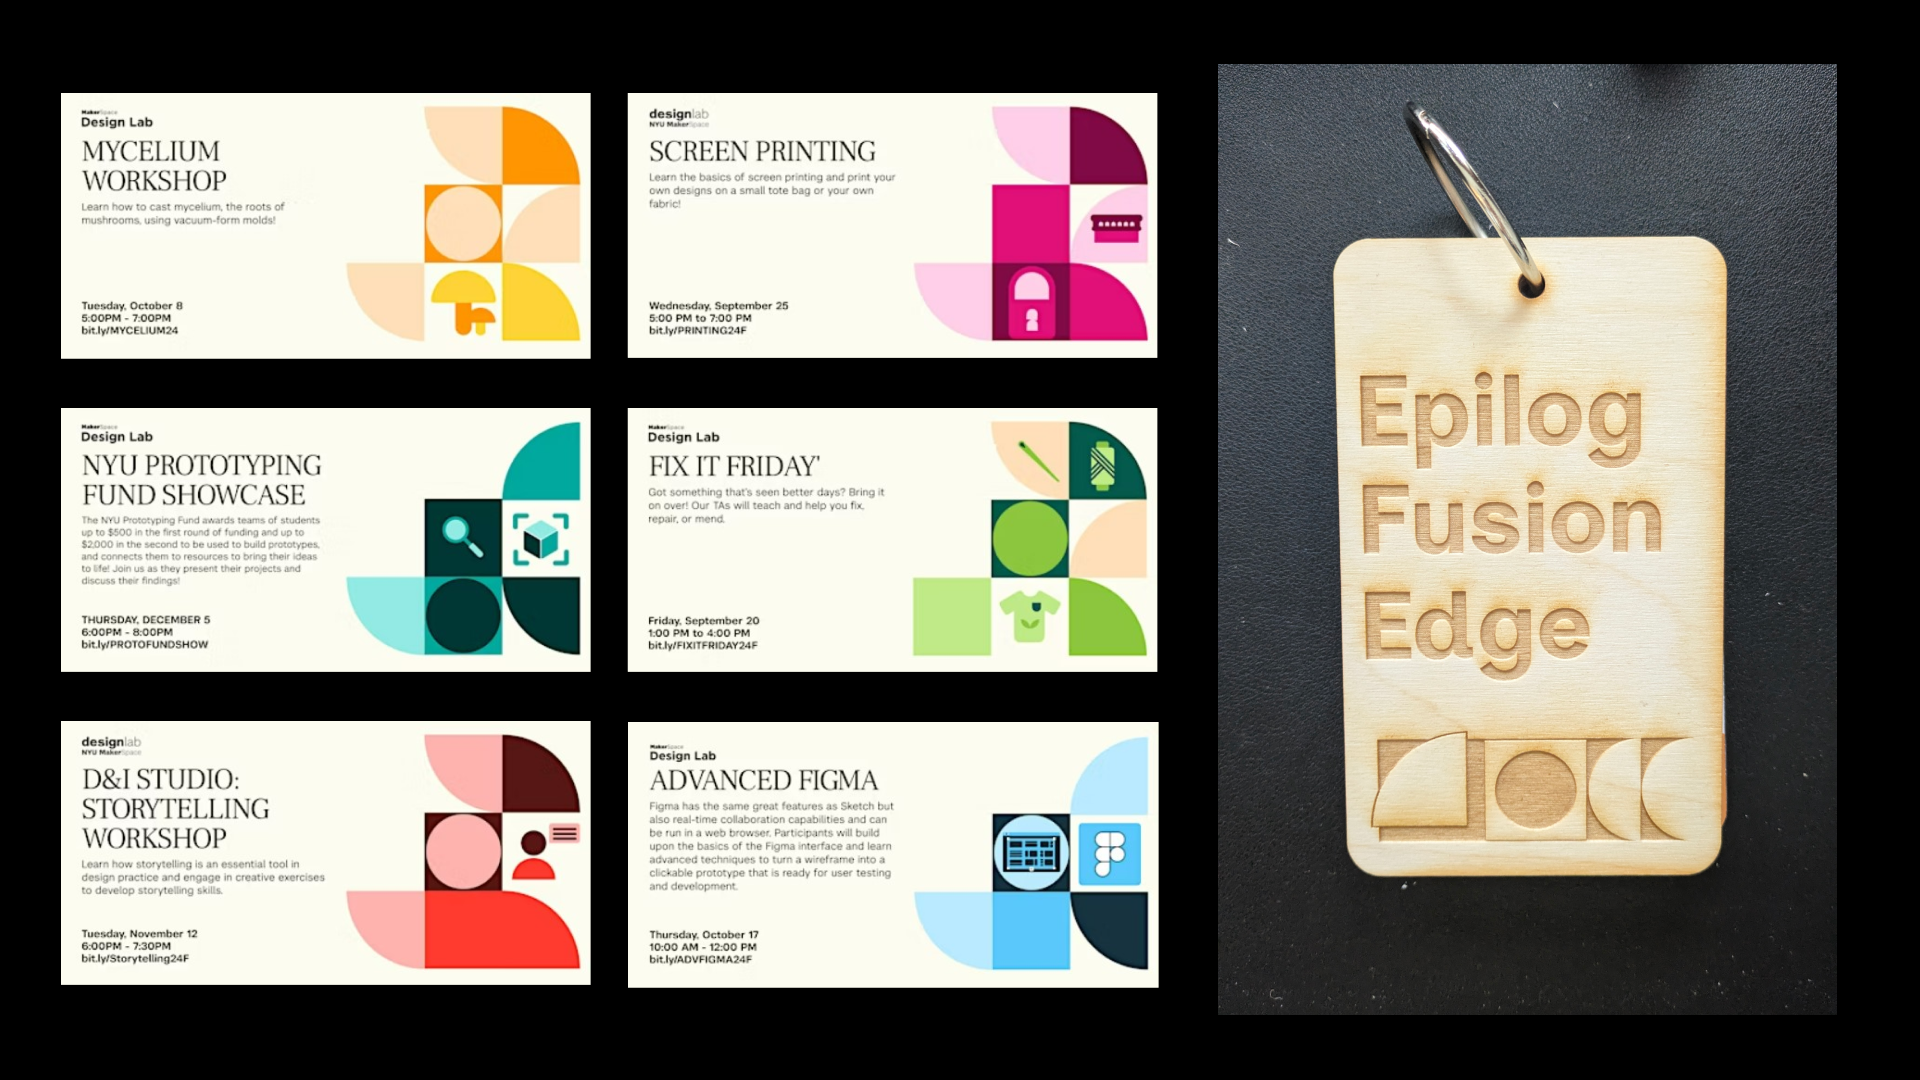
Staying True to Brand
I adopted the geometric shapes to match that of the branding. In the spirit of this project, I used the Epilog Fusion Edge itself to make the cover!
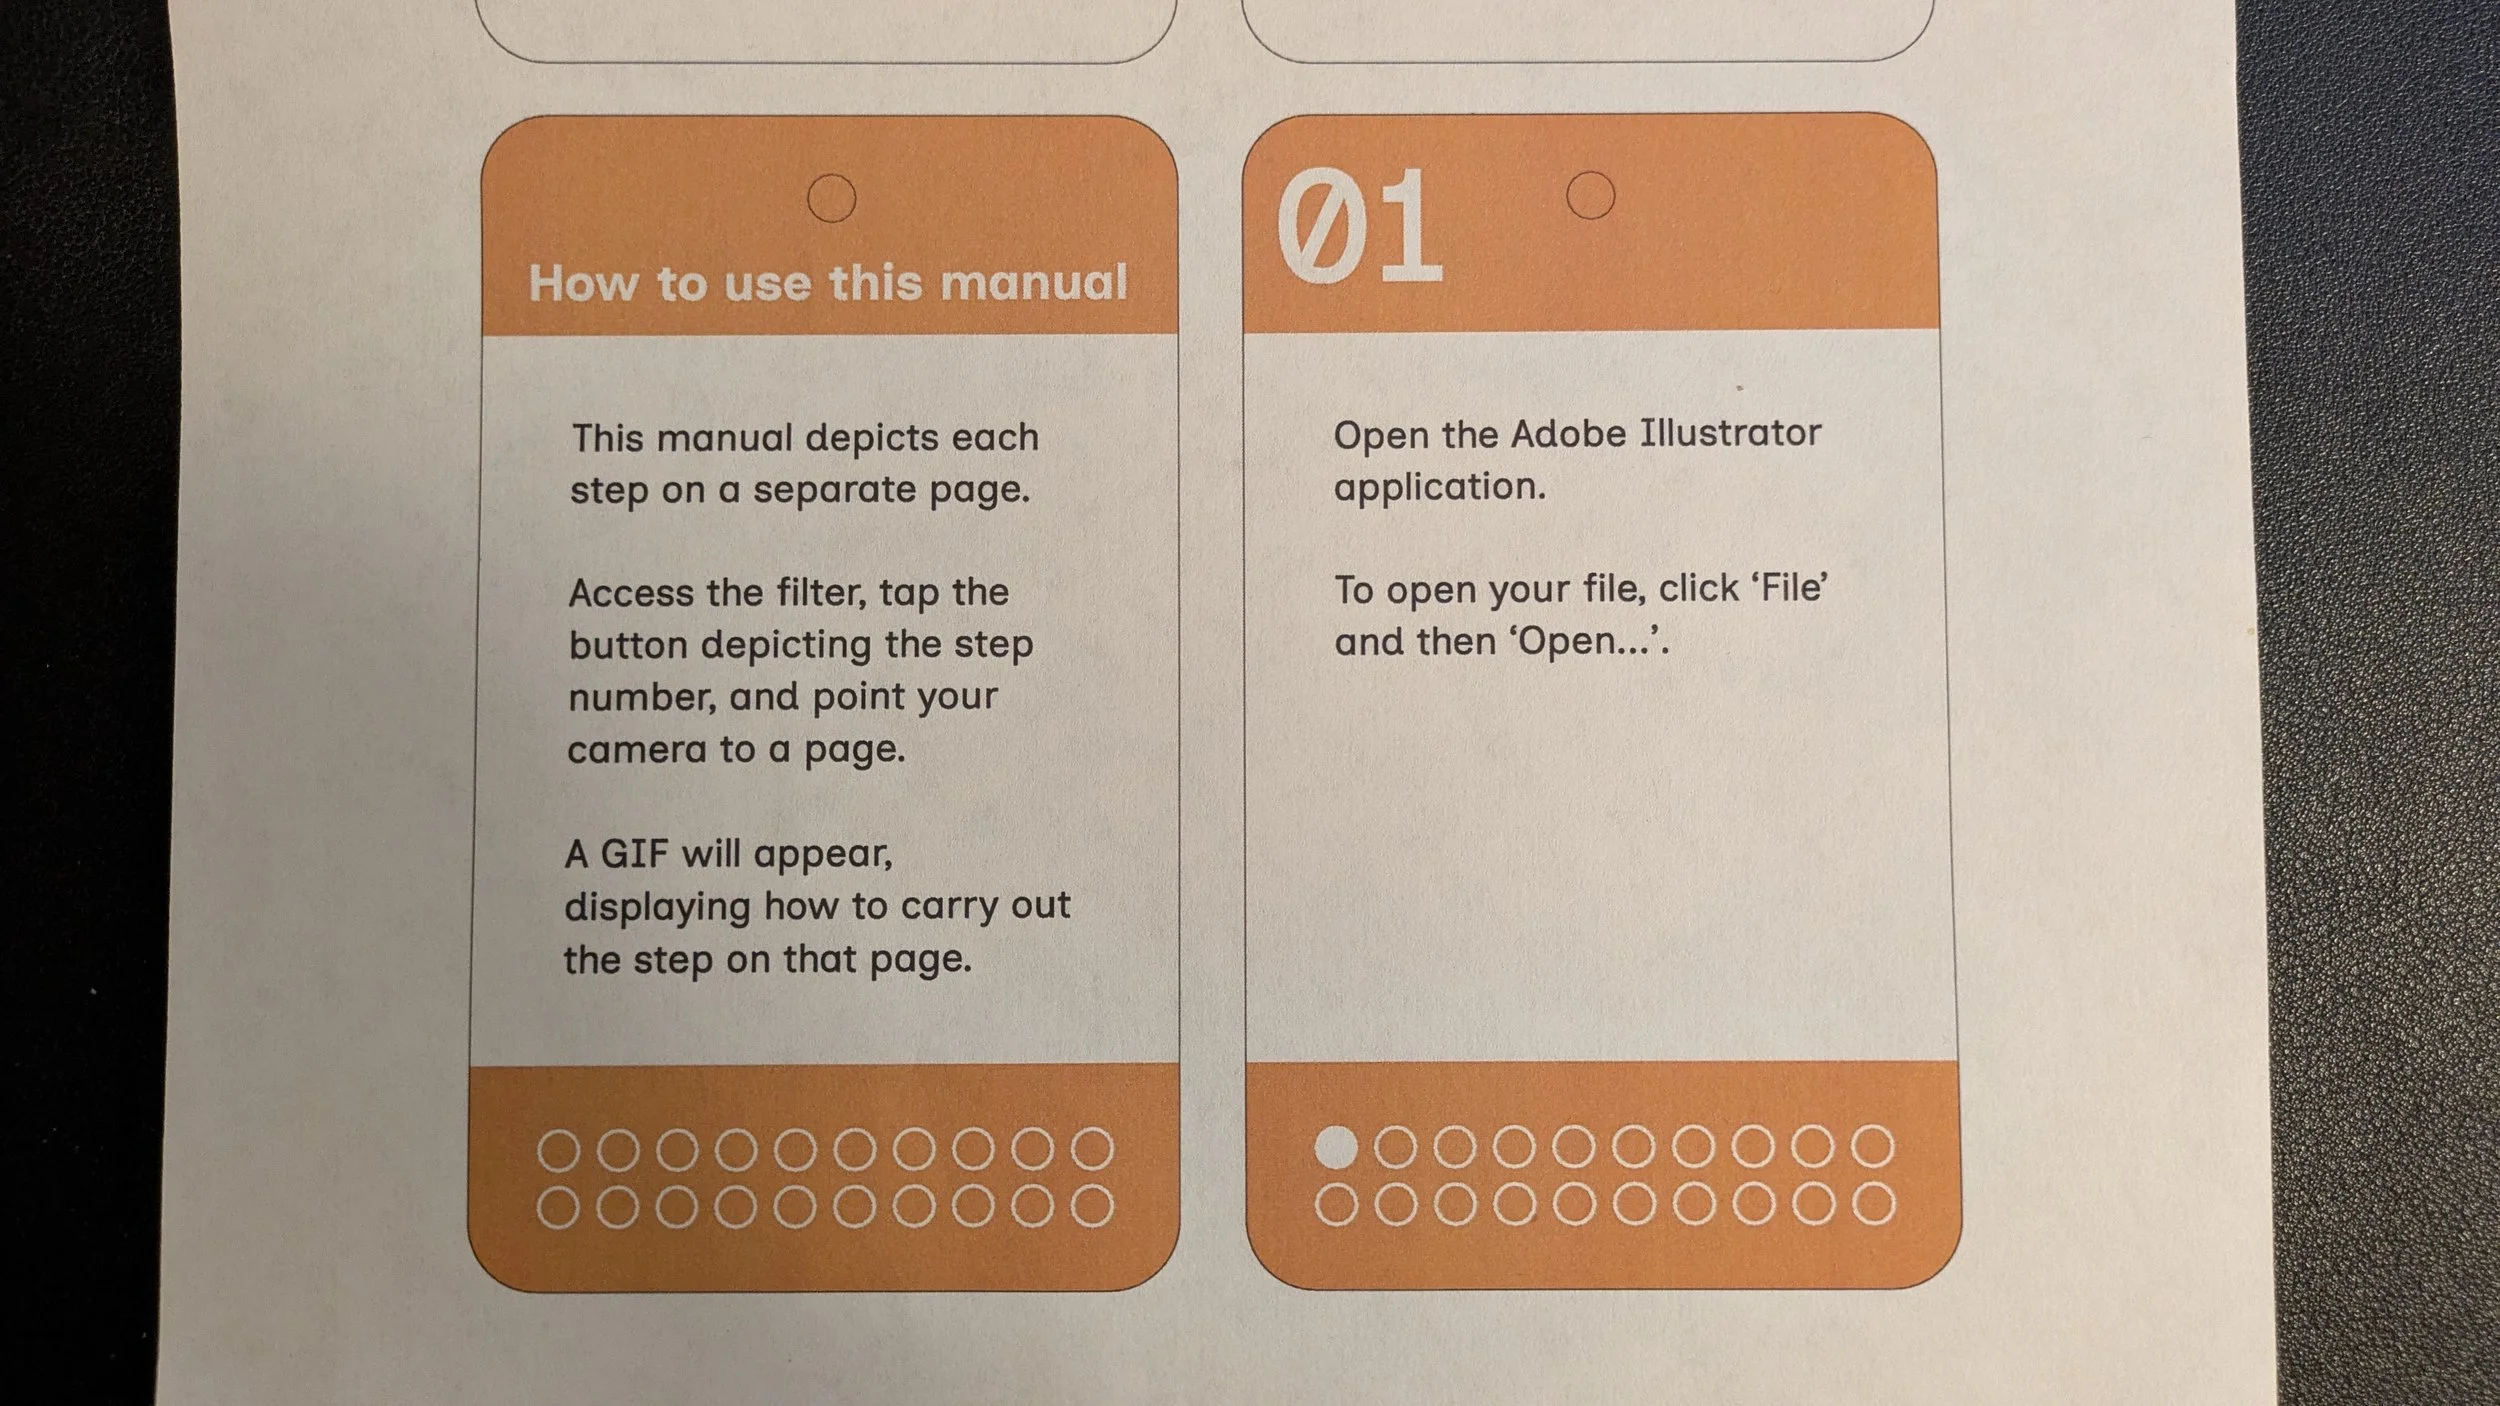
Deciding on a Page Design
My favorite part of the process, designing! I came up with 4 designs. I ended up choosing option B due to its high contrast ratio. AR marker tracking works best with markers with high contrast.
Putting it all together
What I love about this project is that it marries analog and digital. I really enjoyed building this manual!
I printed the designs on paper
01
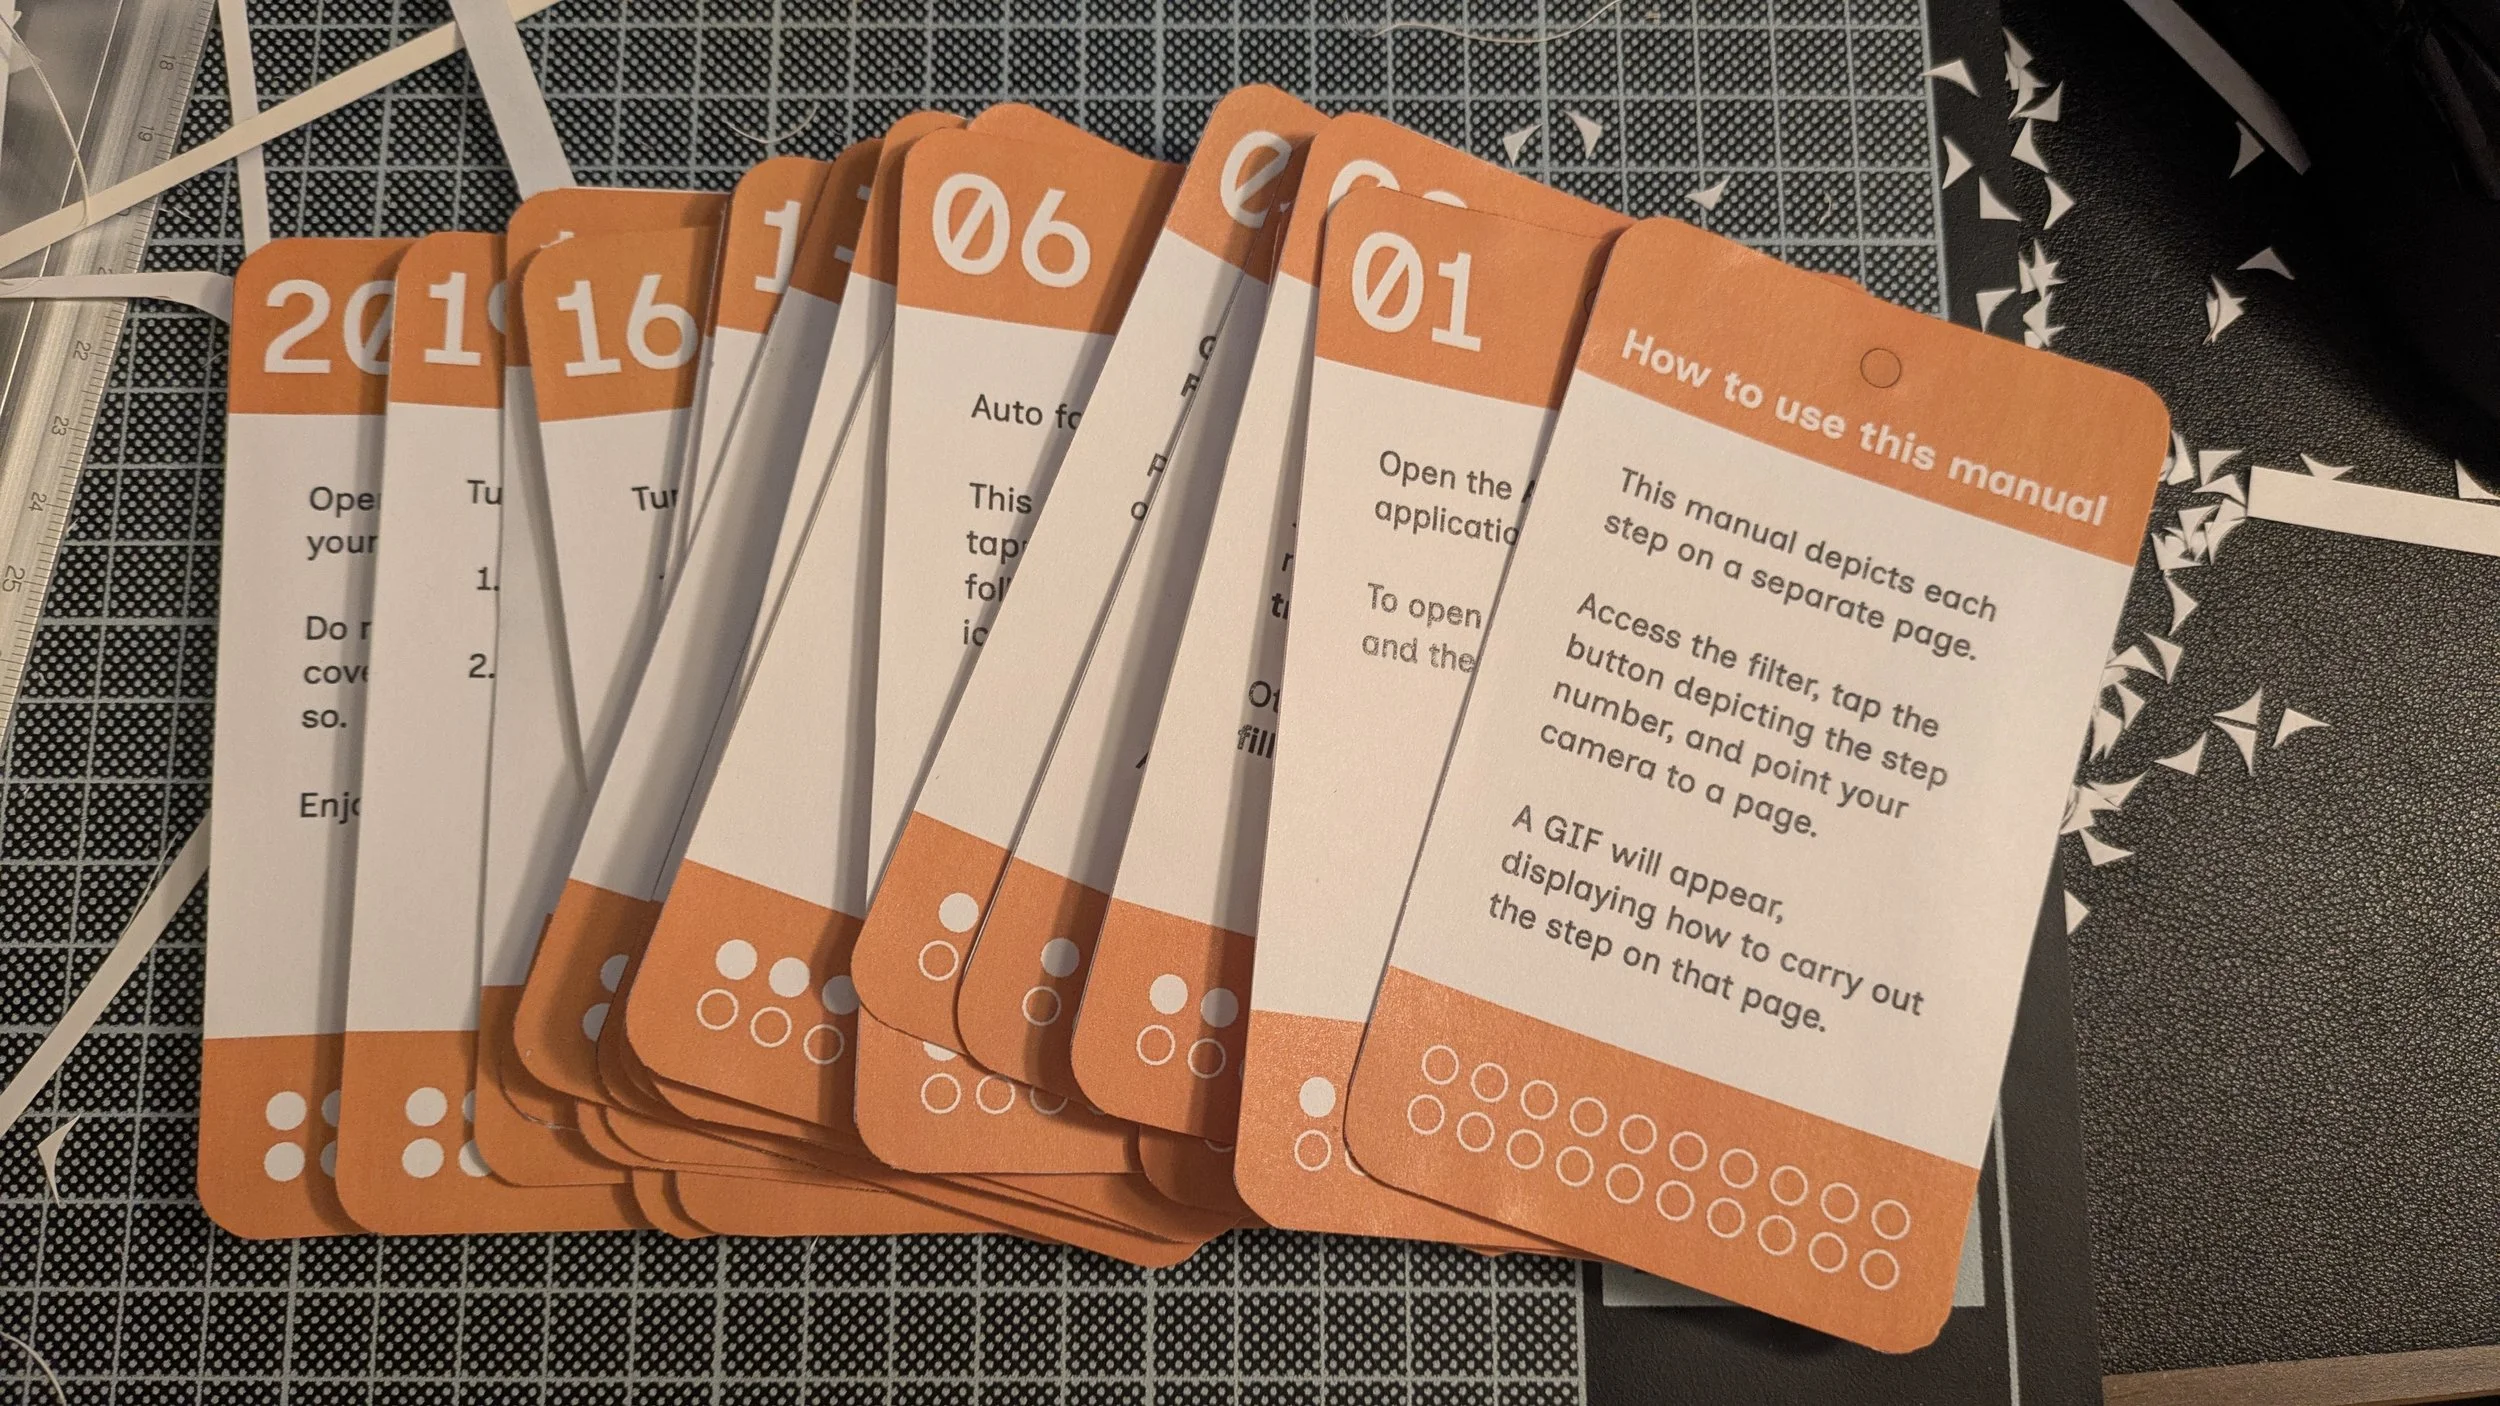
Pasted the designs on paper Pasted the print-outs onto card paper
02

Punched holes into each card
03
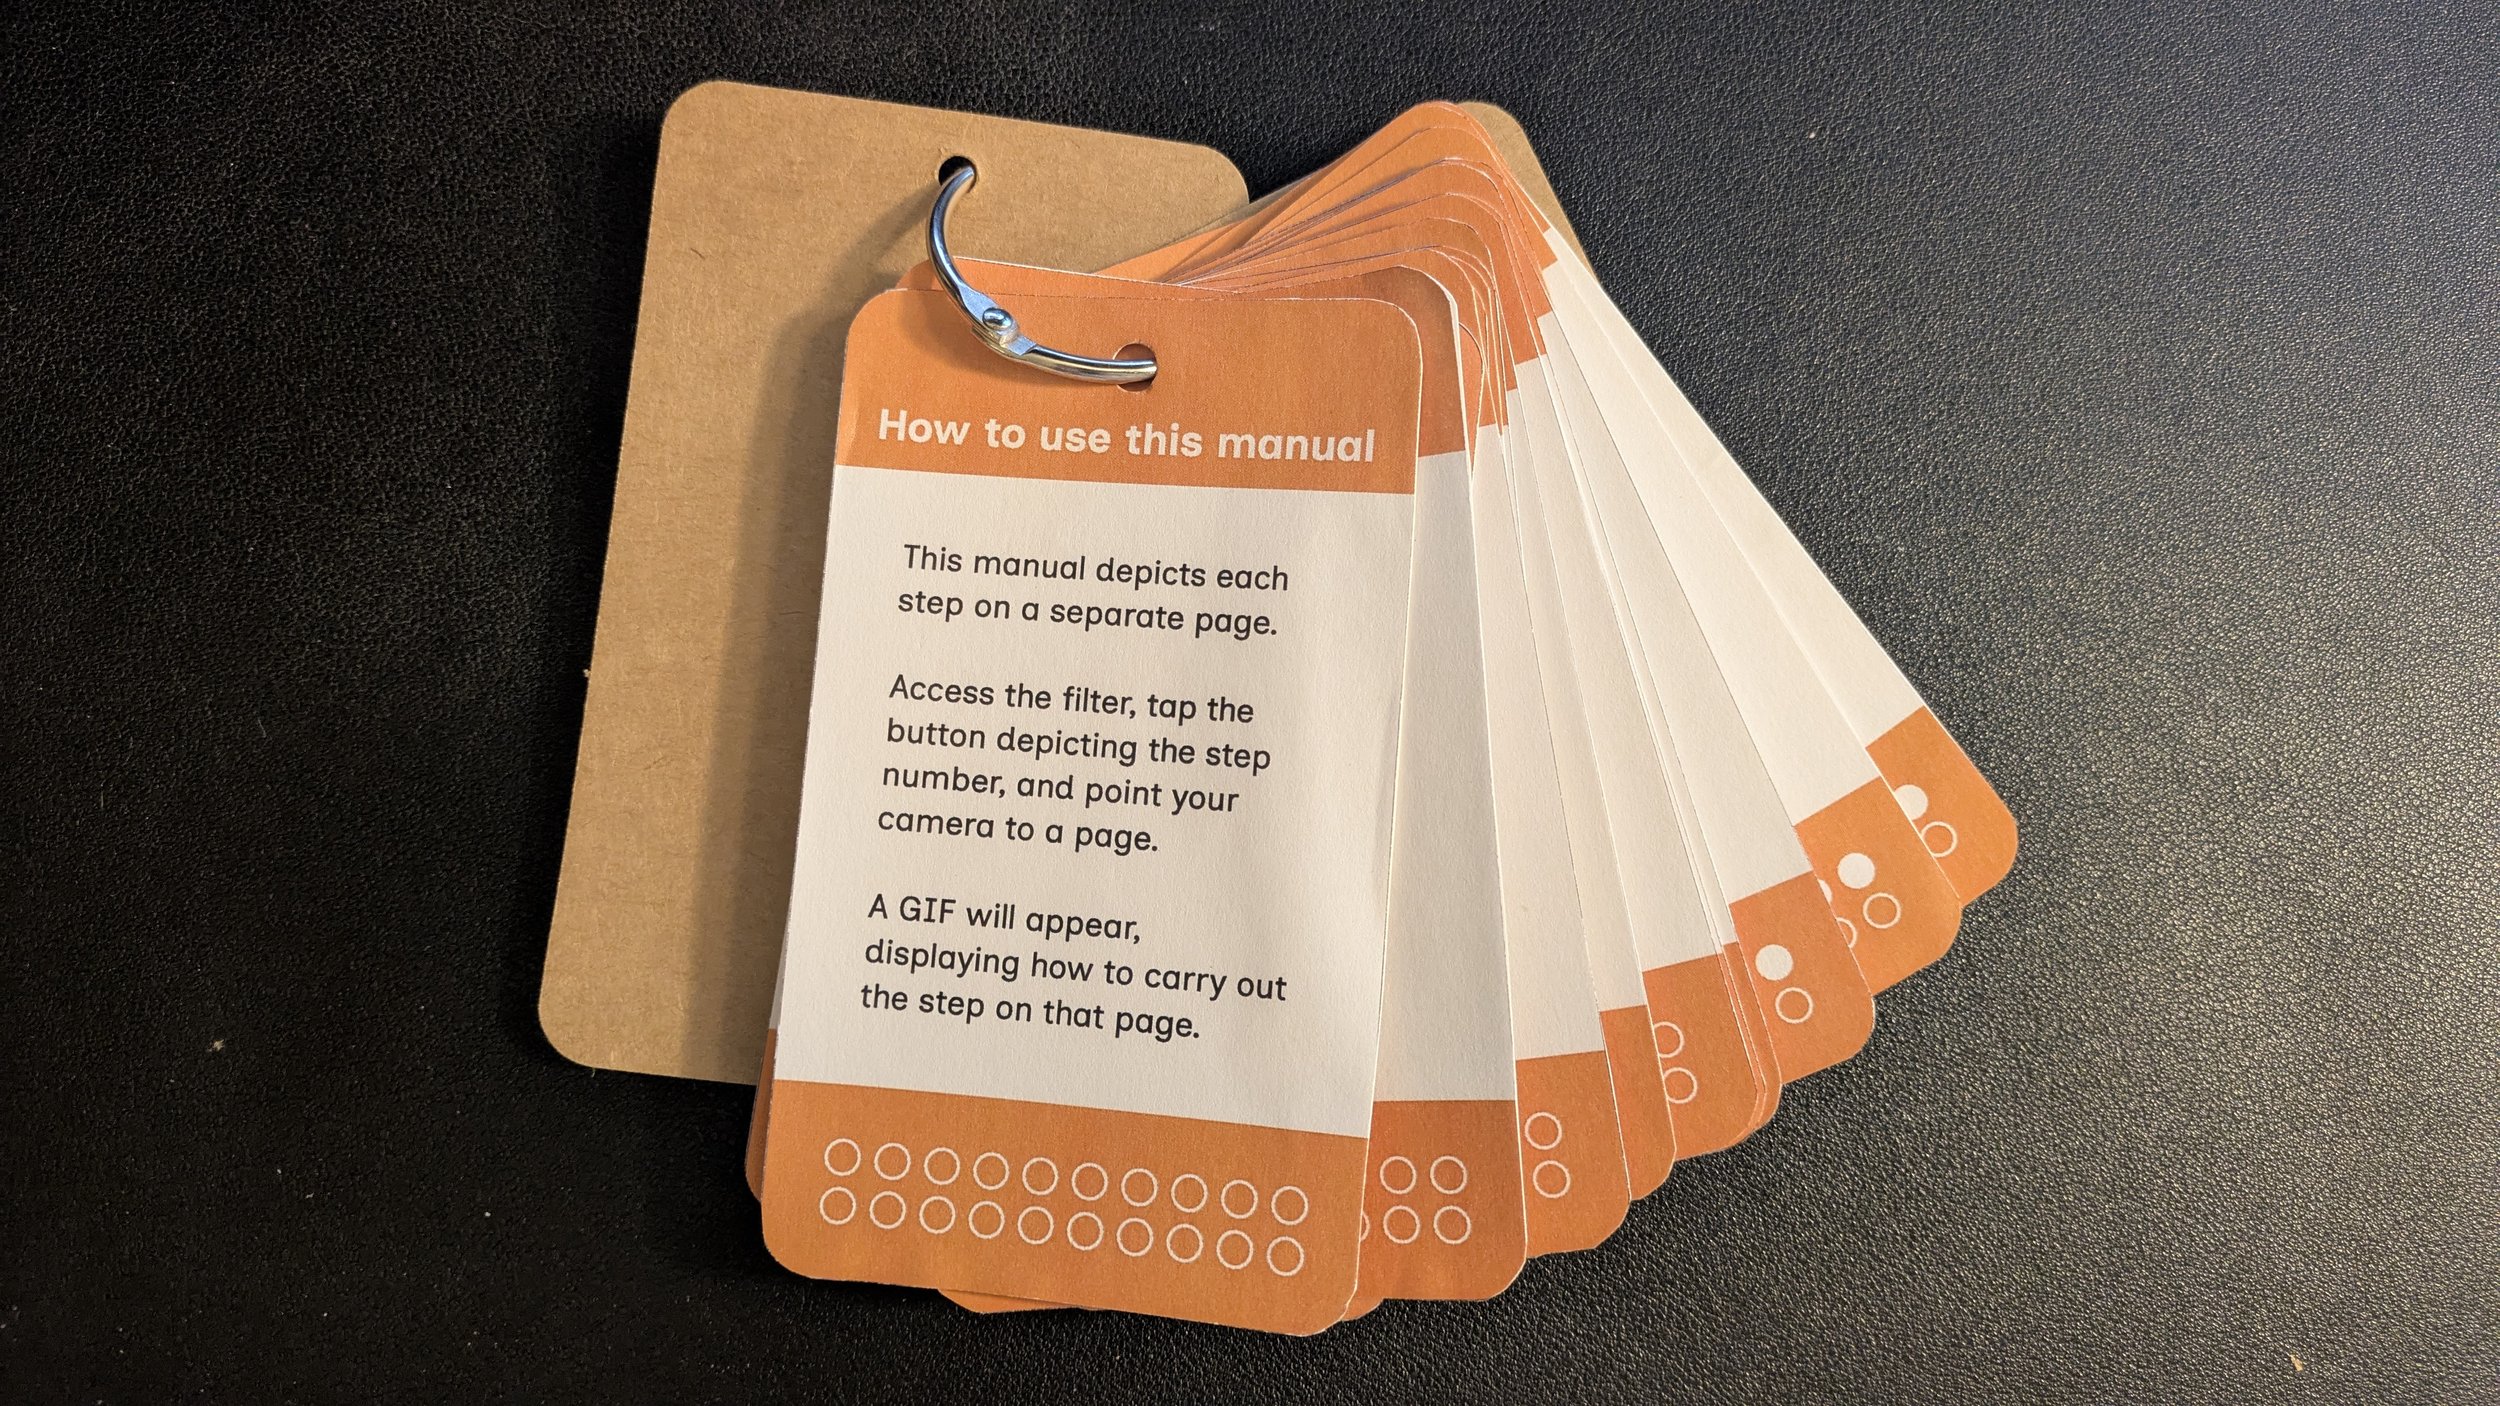
Linked them all together with a keyring!
04